DIY Track Dolly
Hello everyone! It’s been some time since our last post, but anyway I’d like to show you a little project I was working on. So let’s look at how it went.
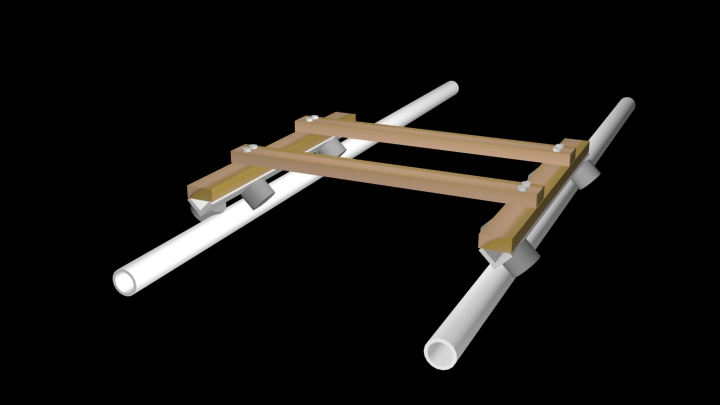
Ok so first I took my notebook and made some sketches. First version should have had a big plane on the top of the rails. But after some thinking I figured that I will need to move that dolly almost every time. So idea poped in my head. The result looked like this:
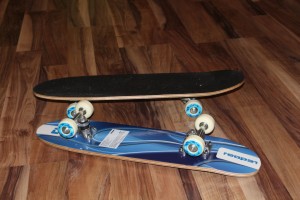
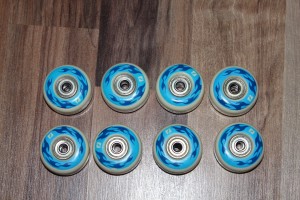
It looked so simple. Just to get some skateboardwheels, wooden planks, angle aluminium, and other parts. When I first looked up skateboard wheels on the internet, I found out that they are pretty expensive. At the end of the day I ended up with two skateboards cheaper than 8 skateboard wheels by themselves.
Then I had to take off the wheels.
Instead of angle aluminium I only had angle iron, but nevertheless I cut it and drilled the holes.
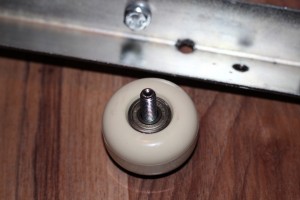
After that I attached wheels to angle iron using some screws, washers and self tightening nuts.
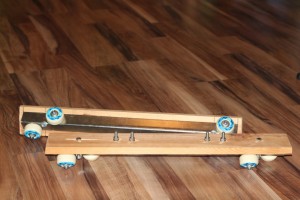
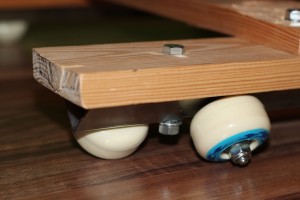
In the end I cut some wooden planks and again using bolts and nuts I attached the wood to angle iron.
Dolly was almost done. One thing left – create middle section which will allow me to asseble and disassemble the dolly whenever needed. This part would solve the problem with not-precisely drilled holes.
I managed to create the middle section using same planks like before but I cut out 8 holes (rectangular shape) to fit the screws in.
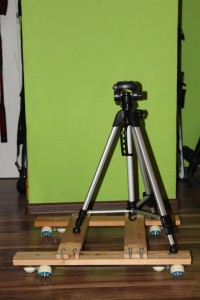
My DIY Track Dolly was done:
And this is how I built my own Track Dolly. I still have to buy PVC pipe for the rails, but in all other ways it is completed. Sorry that I don’t have test footage, but I will probably do one soon.
Ok. Thanks for reading this. If you have any questions use comments, twitter or facebook.

